Window-Light Portraits: A One-Room Practice Guide
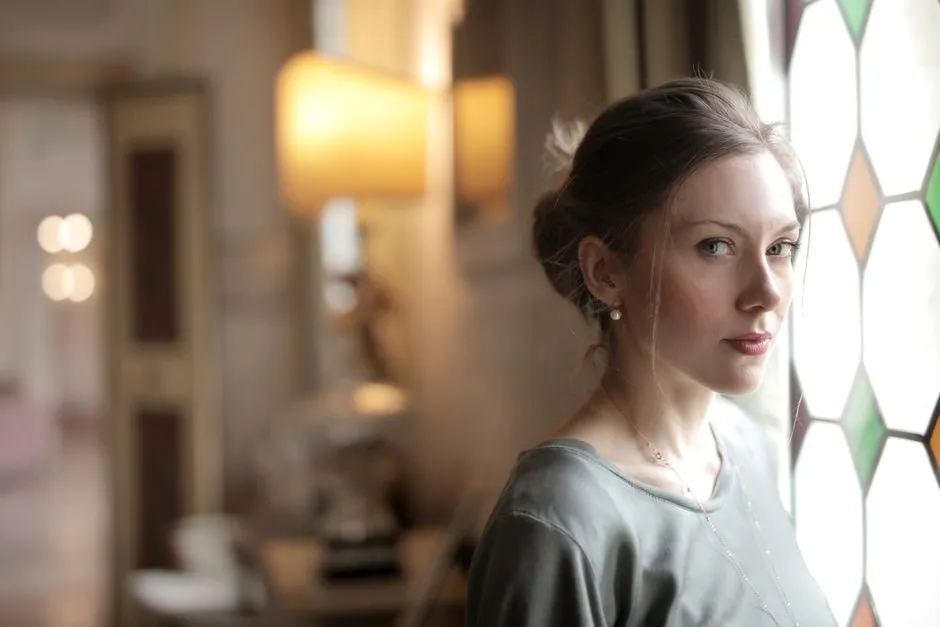
Begin with one window and no extra lights
A large window can act like a broad soft source when direct sun is not striking the subject. Turn off room lamps so orange, green, and daylight colors do not compete. Place the subject beside the window, start with a gentle turn toward it, and make one frame before adding reflectors or moving furniture.
Obtain consent for the portrait and how it will be used. A technically lovely image does not acquire publishing permission through excellent cheekbone light.
Choose indirect light and a safe working area
Direct sun through glass can be hard, bright, and difficult for the subject's eyes. Use a window in open shade, wait for the sun angle to change, or diffuse the light with a securely installed material appropriate to the space.
Keep fabric and stands away from heaters, flames, doors, and walking paths. Do not climb on unstable furniture for a camera angle. Never look directly at intense sun through an optical viewfinder; use a safe composition method and reposition.
Clear cables, bags, and furniture from the subject's movement area. Note mirrors, private documents, house numbers, family photographs, or screens that should not appear in the background.
Place the face, then watch the shadow edge
Start with the subject roughly an arm's length to a few feet from the window, depending on its size and brightness. Turn their body slightly away and face about 30 to 45 degrees toward the light. Observe the near cheek, far cheek, catchlights, and nose shadow.
Move closer to a large window and it occupies more of the subject's field of view, generally producing softer transitions and brighter illumination. Move farther away and the window becomes relatively smaller, while room surfaces influence the result more.
Do not memorize the starting distance as a prescription. Window size, wall color, weather, glass, and room geometry all change it.
Set exposure for movement and facial depth
Choose aperture for enough depth of field to keep the important facial features sharp. Very wide aperture can leave the nearer eye sharp and the farther eye soft; that may be intentional, but it should not be a surprise discovered on a larger screen.
Choose shutter time fast enough for subject movement and your handholding. Then adjust ISO for the recorded brightness you need. Our exposure triangle explanation separates these controls without pretending ISO creates scene light.
Focus on the intended eye using a focus mode supported by your camera. Eye-detection can help, but verify the actual focus point; automation occasionally becomes emotionally attached to eyelashes, hair, or a portrait on the wall.
Expose to preserve important skin highlights and the mood you intend. Review the histogram and highlight warnings where useful, but remember that a histogram describes tones, not whether the expression works.
Improve the frame before adding equipment
Move left or right to simplify the background. Raise or lower the camera from stable footing. Increase the distance between subject and background if the room permits. Check every edge for lamps, doorframes, bright outlets, and lines appearing to grow from the head.
Ask the subject to make small changes: turn the chin, lower a shoulder, shift weight, or look just past the camera. Give clear, respectful direction and allow breaks. Do not touch a subject or adjust clothing without permission.
The light and composition collection treats background cleanup as lighting work because a bright distraction can compete with the face more aggressively than a small exposure error.
Add fill only after seeing the natural contrast
If the far side of the face is darker than desired, place a white reflector, foam board, or pale wall opposite the window. Move it closer to increase fill and farther away to reduce it. Use a stand or assistant, secure the setup, and keep it outside walking paths.
Black fabric or a dark board can deepen shadows by blocking room reflections. Again, secure it. A dramatic portrait loses some authority when the negative-fill board slowly falls into the subject.
Make a six-frame practice sequence
Keep exposure and subject position controlled, then make:
- Face nearly toward the window.
- Face at a gentle quarter-turn.
- Subject closer to the window.
- Subject farther from the window.
- Quarter-turn with white fill.
- Quarter-turn without fill and with a cleaner camera position.
Compare shadow transition, catchlights, background brightness, facial depth, and expression. Change only the named variable for each frame. The exercise works because it replaces vague “better light” with visible cause and effect.
Finish by showing the subject respectful selects when appropriate and confirming intended use. Back up the files according to your normal workflow. The window provided light; the portrait still depended on attention, consent, and moving one distracting laundry basket approximately six feet left.